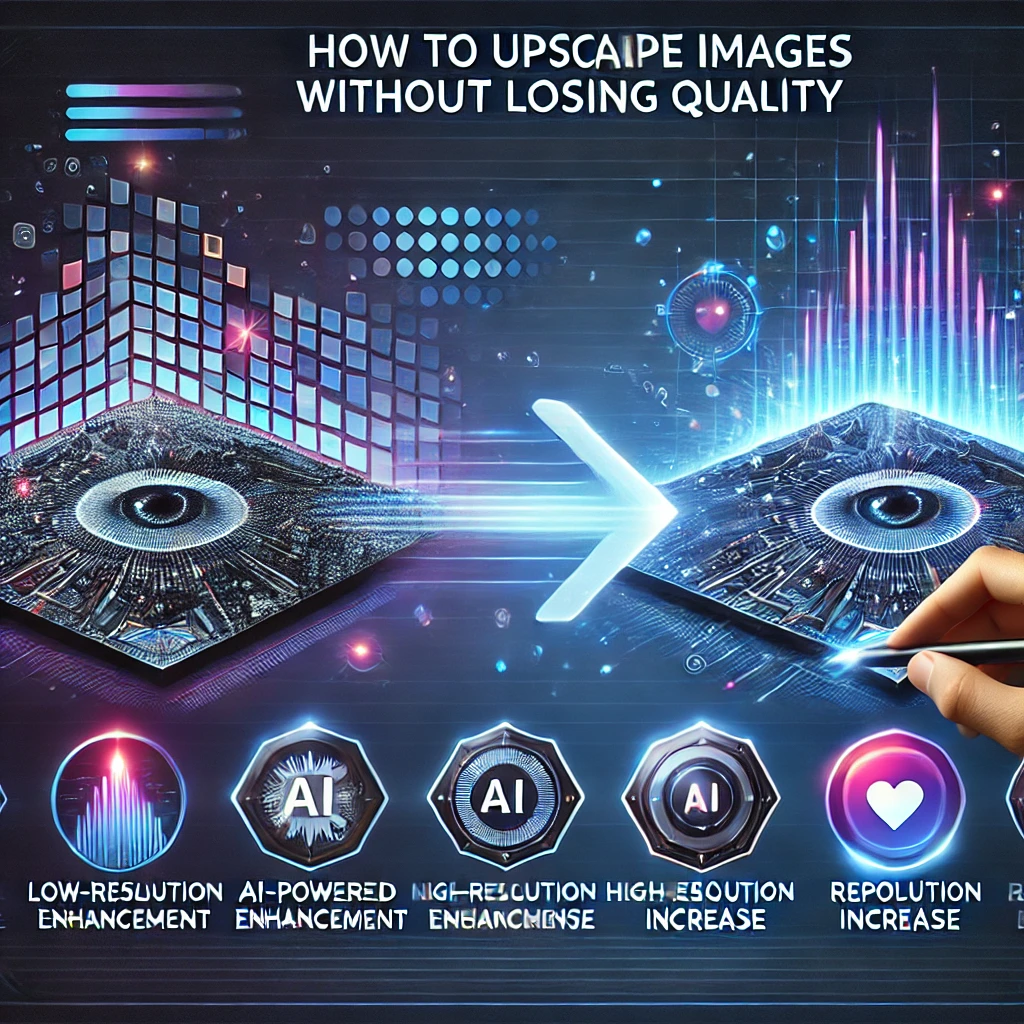
How to Upscale Images Without Losing Quality

In the digital world, image quality is crucial, whether for professional photography, printing, website graphics, or social media. However, resizing or upscaling an image often leads to pixelation and loss of detail. Fortunately, AI-powered upscaling tools can enlarge images while maintaining or even enhancing their quality. In this guide, we’ll explore the best ways to upscale images without losing quality.
Why Do Images Lose Quality When Upscaled?
Traditional upscaling methods, such as resizing in Photoshop using bicubic interpolation, only enlarge pixels without adding new details. This results in blurry, pixelated images. AI upscaling, on the other hand, uses machine learning to predict and generate missing details, making images sharper and more natural even at higher resolutions.
Top Methods to Upscale Images Without Losing Quality
1. AI-Powered Image Upscalers
Modern AI upscaling tools analyze image patterns and intelligently generate details for high-quality results. In the past, enlarging images resulted in pixelation, blurriness, and loss of detail due to the limitations of traditional upscaling methods. However, AI-powered image upscalers have revolutionized image enhancement by using deep learning to increase resolution while preserving sharpness, textures, and fine details. Whether you need to restore old photos, enhance low-resolution images, or upscale graphics for printing and digital use, AI-powered upscaling tools provide superior results compared to conventional methods. Here are some of the best tools:
- Topaz Gigapixel AI – One of the most powerful AI-based upscalers, capable of enlarging images up to 600% while preserving detail.
- Let’s Enhance – An online tool that enhances sharpness and improves image texture.
- Upscale.media – A free AI-powered upscaler with an easy-to-use interface.
- Waifu2x – Originally designed for anime-style images but works well for photos too.
- Bigjpg – Another free AI tool that enhances details while reducing noise.
2. Using Photoshop’s Super Resolution Feature
Adobe Photoshop offers an AI-based Super Resolution feature that enhances images while doubling their size. Adobe Photoshop’s Super Resolution feature is a game-changer for photographers, designers, and digital artists looking to upscale images without losing quality. Powered by Adobe Sensei AI, this tool intelligently enhances resolution while preserving fine details, textures, and edges. If you have a low-resolution image that needs to be enlarged for printing, editing, or digital use, Super Resolution can double its size without introducing noise or pixelation.
How to Use Photoshop Super Resolution:
- Open your image in Adobe Camera Raw (Right-click > Open in Camera Raw).
- Right-click the image and select Enhance.
- Check the Super Resolution box and click Enhance.
- Save the upscaled image in a lossless format (PNG or TIFF).
3. Reduce Noise and Sharpen Details Before Upscaling
When upscaling an image, simply increasing its size can amplify noise and blur, leading to a lower-quality result. To achieve crisp, high-resolution images, it's essential to reduce noise and sharpen details before applying any upscaling method. AI-powered tools and advanced editing techniques can help maintain clarity, texture, and fine details while preventing unwanted artifacts. If your image is blurry or noisy, AI noise reduction tools can improve clarity before upscaling.
- Topaz Denoise AI – Removes noise and enhances image sharpness.
- Adobe Lightroom AI Enhance – Helps in reducing graininess in low-light images.
- VanceAI Image Sharpener – Enhances edge definition for improved clarity.
4. Choose the Right Scaling Factor
When upscaling an image, selecting the right scaling factor is crucial for maintaining quality and achieving the desired resolution. Whether you're enlarging an image for printing, web use, or high-resolution displays, choosing an appropriate scaling factor ensures that the image remains sharp, detailed, and artifact-free. Most AI upscalers allow you to select a scaling factor (e.g., 2x, 4x, 8x). Choosing the correct factor depends on your needs:
- 2x or 4x upscale – Ideal for social media and digital use.
- 8x or more – Suitable for large prints and high-resolution applications.
5. Optimize the Image Format
Choosing the right image format is essential for maintaining high quality while optimizing file size and performance. Different formats serve different purposes—some prioritize lossless quality, while others focus on compression and speed. Understanding the strengths and weaknesses of each format helps ensure your images look sharp, load quickly, and work seamlessly across various platforms. When saving an upscaled image, choosing the right format is essential to maintain quality:
- PNG or TIFF – Best for preserving detail and preventing compression artifacts.
- JPEG (High Quality) – Suitable for web use but may introduce slight quality loss.
- WebP – A modern format that balances quality and file size efficiently.
Published: 2023-05-12
See Other Blogs
5 Ways to Enhance Blurry Photos Using AI Tools
If you have blurry or low-quality photos that need improvement, AI-powered tools offer...
Read More
The Future of AI & Technology
Artificial Intelligence (AI) and technology are advancing at an unprecedented rate, reshaping...
Read More
Resize, Compress, and Convert: The Best Image Formatting Online
In today’s digital world, images play a crucial role in web design, social media, e-commerce,...
Read More